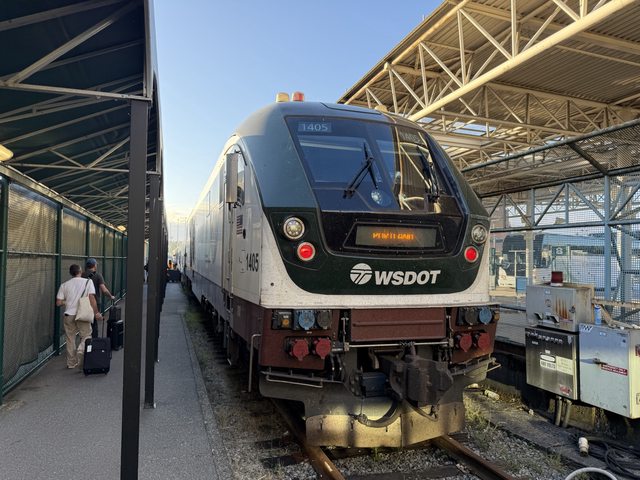
In a previous post, I wrote about crossing the border by rail on Amtrak from Vancouver to Seattle.
In that article, I mentioned the “I-94W” — here, I’d like to explain how to obtain one.
What Is the I-94W?
The I-94W is an electronic arrival/departure record form used by travelers from Visa Waiver Program countries (such as Japan).
While ESTA covers entry by air or cruise ship, the I-94W must be obtained each time you cross the border by train, bus, private vehicle, or ferry — essentially any land or sea port of entry.
When applying for the I-94W, you’ll need to register the following information online:
- Full name, date of birth, and nationality
- Passport number and country of issuance
- Address where you’ll be staying in the U.S.
Applications can be submitted from 72 hours before your crossing up until just before you reach the immigration checkpoint, and you can apply from either a PC or smartphone.
The application fee is $6 (which can feel steep depending on exchange rates…).
While ESTA is valid for 2 years and allows multiple entries, the I-94W requires a new application for each entry and is valid for a maximum stay of 90 days.
Unlike ESTA, it is possible to obtain one on the spot, but since you may be taken to a separate room during immigration processing, I strongly recommend applying in advance.
You Can Apply Online from a PC or Smartphone
Just like ESTA, the I-94W can be applied for electronically from a smartphone or PC.
I used the convenient smartphone app for my application, so the steps below follow the mobile process.
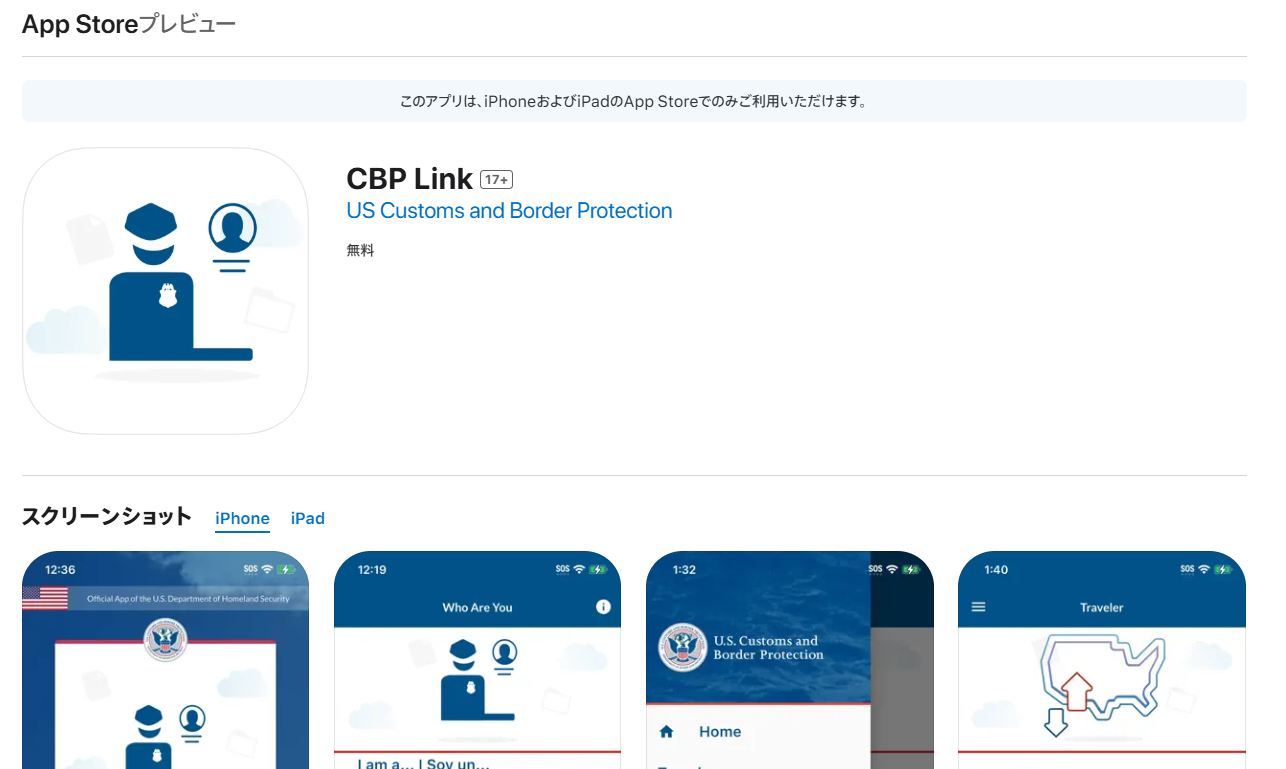
For smartphones, install the app from one of the following links:
If you prefer using a PC, you can apply through the following website:
How to Obtain the I-94W on Your Smartphone
Creating an Account
Open the “CBP Link” app you just installed. You’ll see the screen shown below.
Tap “LOGIN OR SIGN UP.”

Next, you’ll see the terms and conditions screen. Tap “ACCEPT” in the bottom right.

You’ll be taken to the login screen. Tap “Create an account” to go to the account creation page.
Enter your email address, check the box to agree to the terms, and tap “Submit.”


A verification email will be sent to your email address. Open it and tap “Confirm email address” to verify your email.

Once your email is verified, you’ll be taken to the password setup screen.
Set a password with at least 12 characters.

Next, choose an additional authentication method.
You can choose whichever you prefer, but I’d recommend against selecting “Text or voice message.”
*Since the SMS is sent to your registered phone number, if you set it up with a Japanese phone number, receiving the code while abroad can be difficult.

If you’re new to this, I’d recommend using the “Backup codes” option.
You’ll be shown security keys like the image below — take a screenshot or print them out and keep them safe.

After completing registration, you’ll be prompted to add another authentication method. You can skip this by tapping “Continue.”

Your account has been created. Tap “Agree and continue.”

That’s it — your account setup is complete!
Now let’s move on to actually obtaining the I-94W.
Obtaining the I-94W
You’ll return to the initial screen. Proceed the same way as before.


You’ll see the following screen. Tap “Traveler.”

You’ll be asked to complete the additional authentication you set up earlier. Verify using that method.
If you chose backup codes, enter the code now.

After authentication, you’ll be asked how you plan to enter the country.
Select “Land” for a land border crossing, or “Sea” if entering by sea.
*Air travel is covered by ESTA, so no I-94W application is needed.

Select your language, then tap “CONTINUE” through the next screens.


You’ll reach the traveler information screen.
Tap “ADD TRAVELER.” When asked whether you’d like to scan a document, tap “Yes.”
The camera will open — just scan the photo page of your passport.

Your information will be populated automatically. Check the box and tap “CONTINUE.”


Enter the address where you’ll be staying in the U.S.
I entered the same hotel address I used for my ESTA application.

You’ll see the application fee screen. Check the box and tap “CONTINUE.”

Choose your payment method.
For credit card payment, select “Debit or credit card.”

Enter your credit card billing address and complete the payment.
For this field, enter your home address (e.g., your Japanese address) in English.

Once the payment is processed, you should receive an email like the one below.
When you receive this email, your application is complete! Great job.

Summary
I hope this guide to applying for the I-94W has been helpful.
Since there isn’t a lot of detailed information out there about what’s required for U.S. land border crossings, I hope this serves as a useful reference.
Thank you for reading!
Leave a Reply